

So, you’ve decided to copy me. Welcome aboard!
For the purpose of this post, we will presume you have had a little bit of contact with crypto, and you at least have an account on a reputable exchange, such as Coinbase or Binance. Depending on where you are in the world, at least one of them should be available to you (unless you’re from an internationally-sanctioned country, in which case none of them is available to you).
In terms of apps, you will need an exchange that can onramp and offramp FIAT (both Coinbase and Binance can do that), and a non-custodial wallet (such as Rabby). If you want to chart for yourself (that is entirely optional), TradingView is your best choice.
Since nowadays the world is more on the move, and some people do everything they need from their phone, I will guide you through how to set up everything exclusively from your mobile:
Step 1: Wallet Setup & Security
Deposit some FIAT on Coinbase or Binance.
Next, install the wallet of your choice (I prefer Rabby). It asks you whether you already have a wallet, or you want to create one. You’re going to select “Create new wallet”.
Upon creating your wallet address, you must save your pass phrase, by writing it down in a notebook you won’t lose. If you lose your passphrase, you’re at risk of losing all access to your wallet. It’s best practice to NOT screenshot your passphrase and not photograph the paper you wrote it down on. Ideally, you want your passphrase to never be available in a digital environment. Also, never share it with anyone else. There is no reason for which anyone needs to know it, and anyone asking for it is most definitely looking to steal your funds. No customer support representative will ever ask for it, nor do they need it for anything. Remember that.
Now that you’ve set up your new wallet, notice your non-custodial wallet address is not the same as your Coinbase or Binance account wallet. That means if you want to copy me, you’ll need to move funds from the exchange, to the wallet.
Step 2: Buy Assets & Copy Address
First, go to the Spot Trading section of the exchange, and buy a little bit of ETH. Some $15 should be just fine. You will need the ETH to pay gas fees on the blockchain. Next, make sure to buy USDC (the amount you’ll use to copy me).
If you bought the ETH and the USDC, you now have all the coins you need to copy me. It’s time to put them in your wallet.
Go inside your non-custodial wallet, tap Receive, and copy your wallet’s address (there is a Copy symbol to the right of the address).
Step 3: Withdraw ETH to Wallet
In the app of your exchange, go to the Withdrawals section, choose to withdaw your ETH, paste your non-custodial wallet address that you copied earlier, and select Arbitrum in the dropdown list, for the chain you’ll use.
Arbitrum is a Layer 2 chain, built on top of ETH, but with much lower gas fees, and faster processing.
Some users report Arbitrum not being available to them, if they are using the Advanced trading mode in Coinbase. If you do not see Arbitrum as an available chain on Coinbase, switch your account to Simple mode and you will certainly see it. You can revert to Advanced mode after you complete the withdrawals.
Step 4: USDC Withdrawal
Check your Withdrawals section on the exchange, and when your latest withdrawal says Completed, refresh your wallet, and you should see the ETH right there.
Welcome to decentraland, you rebel! You now have the first funds you’re entirely responsible for. There is no exchange customer support to save your butt at this point. On the plus side, no exchange can now touch your self-custody funds. They can never lock it, retain it, delay it, and no exchange website downtime can affect you. (Does absolute freedom taste the way you thought it would?).
Ok, now that you know the process, copy your wallet address again, and withdraw the USDC, also on Arbitrum. Once the USDC has hit your wallet, you are ready to copy me.
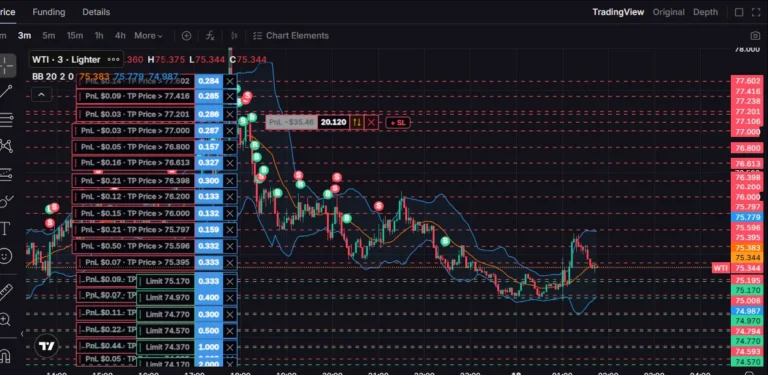
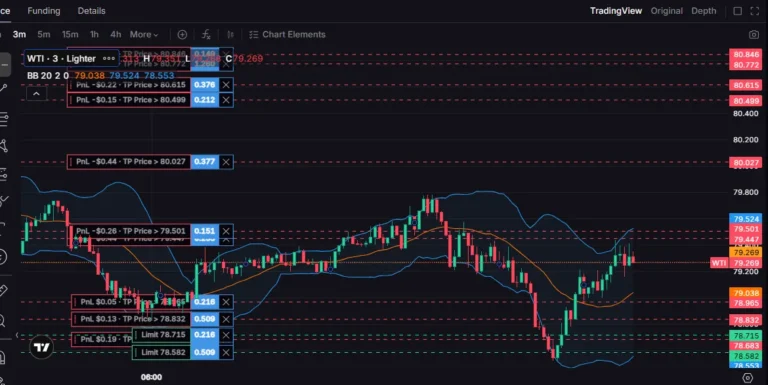
Step 5: Step Into the Light(er)
I trade on Lighter. To copy me, you can access Lighter from the Web Browser inside your wallet. The wallet I prefer, Rabby, has an internal browser you can use.
On the main page of Rabby wallet, scroll towards the bottom, then notice the pastel-colored chevrons, and the text “Swipe up to explore websites”. So swipe up.
On the bottom of this new page, you will see an address bar. MANUALLY enter app.lighter.xyz in the address bar.
The reason you are manually entering the entire address is to ensure that, in case of hijacking, you are not exposed to any typo-type phishing websites. Rabby’s dropdown list of apps has been solid so far, but good safety practices will help you throughout your entire DeFi experience.
Step 6: Deposit USDC
The wallet’s internal browser will automatically connect your wallet to Lighter. The Lighter Mobile app will prompt a couple of messages for you to sign in your wallet. You are now ready to use the Lighter DEX.
In Lighter, on the top right hand side, you’ll see a wallet symbol. Tap it, and select Deposit to deposit your USDC. This only takes a few seconds, and you will see your funds in Lighter.
DO NOT deposit your ETH. Your ETH stays put, and it will be used to pay for gas fees.
Step 7: Join My Pool
Once you’ve done that, go to Public Pools, then User Public Pools, and in the Search field, type in BIT755. That’s (obviously) my pool.
Tap the Deposit button, enter the amount, and deposit your USDC to my pool. As a Pool Leader, I am trading all the funds in the pool, including what you’ve deposited. Any funds that are in the pool are automatically used, proportionally, for the Leader’s next trade.
If you decide to stop copying me, or just to take out some of the profits I’ve generated, you will need to Withdraw your funds from my pool (the Withdraw button is right under the Deposit one).